I saw a really loved hard carved telecaster style body on eBay but got outbid. But I had also noticed another nice hand carved body with a Celtic pattern that was buy now so got that.

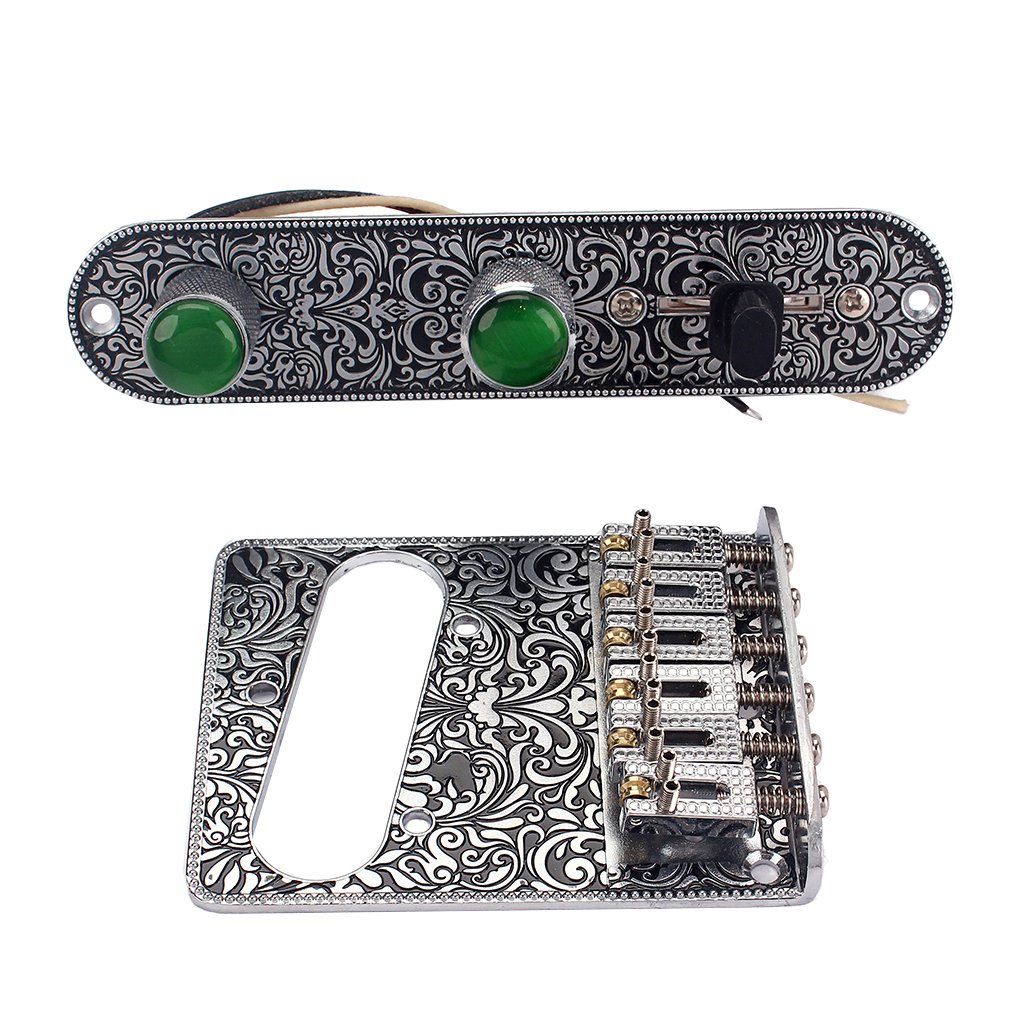
I got a 22 fret rosewood neck from eBay and various parts from Amazon including a Wilkinson 60’s vintage voice pickup set and a lovely prewired control plate and bridge that goes with the theme.
The rosewood neck came unfinished so coated it with linseed oil. I put the tuners on using some teflon plumbers tape on the washer/guides as my neck’s holes were slightly too large for these to snugly fit. At this point I realised that telecasters need a string tree for the two high strings, so ordered those. I lubricated the nut grooves with some graphite using a pencil.


The scratch plate came unshielded so I used adhesive copper tape to shield the back and mounted the Wilkinson neck pickup. Lol, you can spot that I am more used to shielding strats than telecasters, the shielding is perhaps overdone as the telecaster’s cavities are small.


The body and the pickup and control panels arrived so having added a string tree to the neck, it’s now ready to start getting put together. The one part I am waiting for is the output jack. Lots of holes to drill.

I tried the neck on the body and noticed that there is a little play. It looks like the neck pocket has been cut square rather than having a slight taper. I will therefore have to build up the pocket with some veneers in order that I have a nice tight snug fit for the neck. The body isn’t predrilled so I will need to drill holes in the body using the neck plate as a marker. Then I will clamp the neck to the body, make sure everything is good and straight and then use a smaller drill bit to mark out where to drill the neck. I am getting some parafin wax to coat the screws to help them ease into the neck.
Before I drilled the body I had a practise with a piece of old wood and tried out different drill bit sizes before finding the right one.
I already a really neat pin vise hand drill set from Amazon Link to Amazon and the hand drill. I picked a bit (from my power drill bits not from the tiny hand drill bits) a few sizes smaller than the one that I used to drill the holes in the guitar body and was then ready to mark the holes on the neck.

I measured the body to find the centre line and drew a pencil line on that centre. I want the neck, and all the other components, to be at the right angle relative to the centre. The main guide I used to find the centre was the bridge pickup cavity. I used copper tape to shield all the cavities.
I got a little impatient and decided to put the neck on without clamping or doing the veneer work. Then tried fitting most of the rest of the parts.


I had to trim the scratch plate a little because the bridge plate was just a tad higher than the scratch plate expected and also trimmed a little off the curve where the control plate goes. Then I had a doh moment. I realised that I need six holes through the body to the bridge plate for the strings and I need string ferrules to cap those holes at the back.
All the last pieces arrived so I could complete the build and string the guitar. While I can see little mistakes I made the basics are sound and the guitar is now my very unique telecaster.


Project Cost
Hand carved telecaster body £89.00
Postage for the body £24.00
Rosewood 22 fret neck £64.88
Black Telecaster pickguard scratchplate £7.39
Red Groove Celtic Knot guitar strap £22.95
Wilkinson 60’s vintage voice pickup set £29.90
Wilkinson deluxe Kluson style tuners £22.50
Perfk Zinc Alloy Prewired control plate & bridge plate £24.99
Roller string tree £3.73
Bullet string ferrules £4.98
Grover artist eagle strap buttons £22.44
Total £316.76
